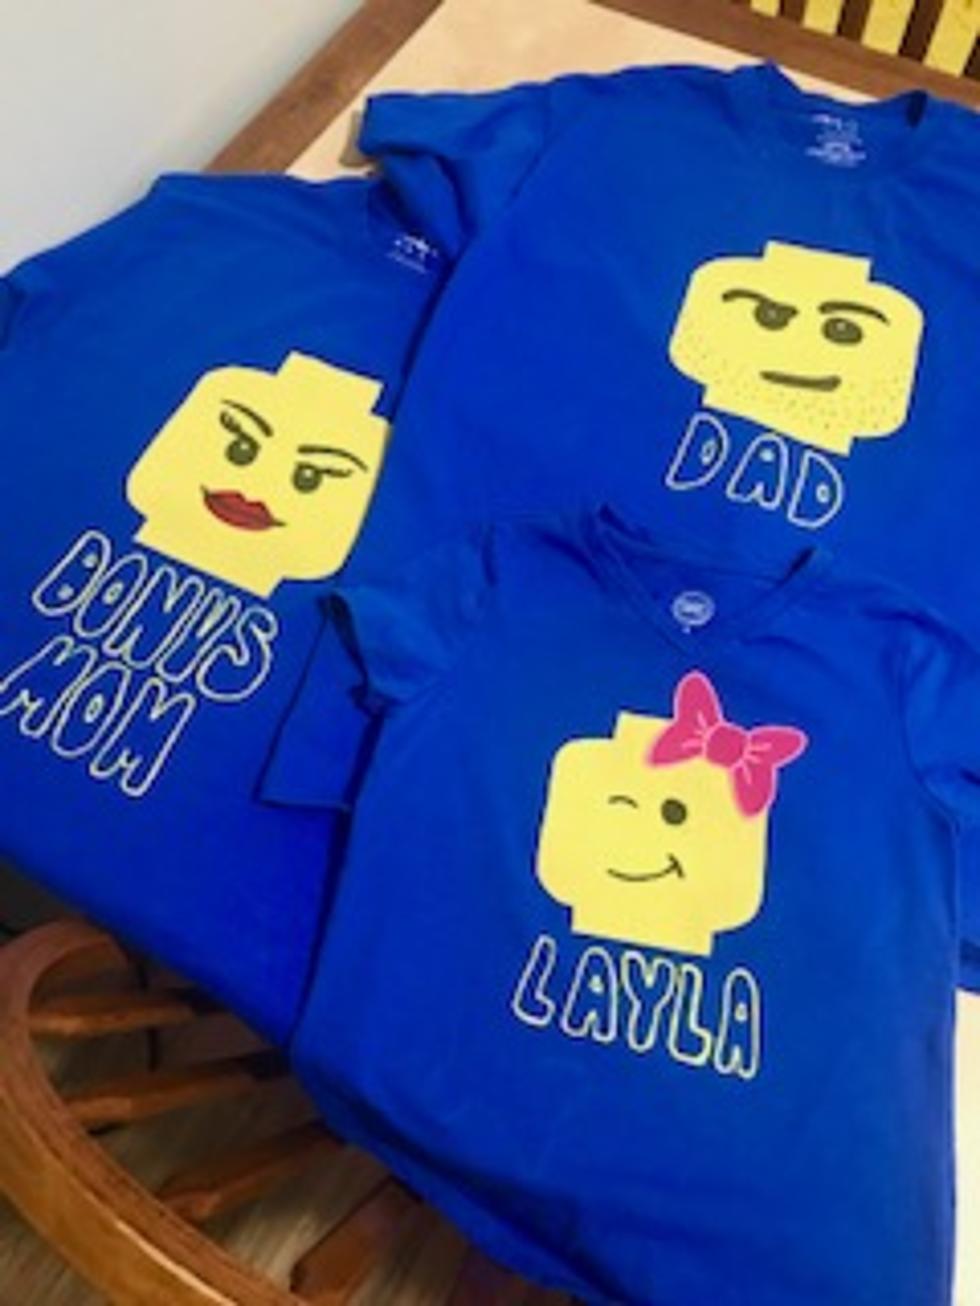
How To: Themed T-Shirts
My family and I are heading down to our very first family vacation in San Diego. I am BEYOND excited not only because we're going to check some of the best attractions in the country like SeaWorld, San Diego Zoo/Safari Park, and Legoland, but because it's the first time I'll get to travel with my bonus kiddo and experience all these fun activities as a family. However, because I have a type A personality I'm that person that goes a little too far planning for a trip (guilty). So, naturally I thought of making these fun Legoland-themed family t-shirts for our trip.
The tutorial I found on Pinterest was super easy (I simplified it even more) and the process could be used for any type of occasion, so I thought I'd share! Here's what you'll need.
- T-shirts - I found mine at Walmart IN THE CRAFT SECTION (they're half the price than on the rack).
- Remnant fabric - I bought Fat Quarters at Walmart, they're the perfect size and only $0.98 each!
- Spray Adhesive - I used Elmer's CraftBond at Walmart
- Sharp Scissors
- Template for your desired shapes
- Pencil
- Sewing machine (optional)
- Fabric Marker (optional)
- Credit: Dan Kitwood / Staff | Getty Images
Credit: Dan Kitwood / Staff | Getty Images 1Choose your design
In my case I just had to find the shape of a Lego head. I found it HERE. Print out your design/s and cut them out.
- Credit: Tay Jnr | ThinkStock
Credit: Tay Jnr | ThinkStock 2Trace and Cut
Use your pencil and lightly trace the shape onto the fabric. Cut out the fabric with your very sharp scissors - I had to sharpen mine because it was awful trying it with dull blades.
- Credit: george tsartsianidis | ThinkStock
Credit: george tsartsianidis | ThinkStock 3Spray and Stick
Now it's time to spray the adhesive onto the cut out fabric. You'll want to bond the fabric onto the t-shirt within 15 seconds of spraying for a super strong hold. And make sure you're fabric is straight!!
*Optional: you can stitch your fabric on with your sewing machine so you'll know those suckers will never come off.
- Credit: Zizly | TSM Boise
Credit: Zizly | TSM Boise 4Add the Details
Here's where the fun part comes in. Add in all those extra little details that complete your look. For my project I found Lego men/women faces online and just drew them on with my fabric marker (be careful though that ink will smear EVERYWHERE if you're not careful--let it dry for at least 24 hours).
I also used some puff paint for the letters and detail in the bow!
More From 104.3 Wow Country


